Visualizzazione post con etichetta TYW. Mostra tutti i post

lunedì 10 marzo 2025

The Battle of Messeburg, 1632


The Thirty Years' War has been ravaging Germany for years. Over the past winter, Swedish King Gustavus Adolphus skillfully employed diplomacy to strengthen the Protestant coalition, securing new allies against the Catholic Imperial forces. In particular, the Dutch Republic officially joined the war, bringing much-needed financial support and reinforcements to the campaigning Swedish army. 

At the beginning of spring, the Protestant army marched south, prepared to confront the Imperial forces. The Imperials, determined to halt their advance, moved to intercept. Their armies would soon meet near the bustling market town of Messeburg, where a decisive battle loomed.


Initial Deployment

The Swedish army took position between the river and the village of Messeburg, anchoring its right flank with Protestant allied regiments of Dutch and Scottish troops under General De Vere, supported by dragoons commanded by Justinus von Nassau. The Swedish left flank was held by the cavalry, while in the center, a small reserve under Åke Tott stood behind the main infantry line.

The Imperial forces deployed strongly on their left flank, concentrating veteran tercios and their best marksmen in this sector. Their right flank, composed of heavy cuirassiers, was positioned beyond the river, seemingly preparing for an outflanking maneuver.


Early Skirmishes on the Left Flank

To counter the Imperial commanded shot in the wooded area on the Swedish left, the Dutch commander sent his mounted arquebusiers into the forest. However, their horses struggled with the rough terrain, and the Imperial troops managed to penetrate the woods, forcing the Dutch skirmishers to fight defensively with little success.


Stalemate in the Center and Right Flank

For much of the morning, the rest of the battlefield remained quiet. The Imperial troops stayed out of range of the Swedish artillery, while the Imperial cuirassiers on the right bank of the river showed no immediate intention of crossing. The Swedish cavalry took position on the opposite bank of the river, ready to strike if the enemy attempted to ford the waters.


Fierce Fighting for Messeburg

At the center of the battlefield, a brutal contest erupted for control of Messeburg village. Dragoons and commanded shot on both sides engaged in bloody street fighting, with the village changing hands multiple times. Only by the end of the day did the Swedish forces secure firm control over the settlement.

Åke Tott’s Failed Charge

Noticing a gap between the Imperial center and left flank, General Åke Tott led a squadron of demicuirassiers in a daring charge against the Imperial artillery. Despite initial success, the assault was repelled, and the Swedish cavalry was chased down by a squadron of Imperial dragoons hastily redirected from the fight in the village, momentarily relieving pressure on the besieged Protestant regiments.


Crisis on the Swedish Right

Meanwhile, on the Swedish right flank, the Dutch and Scottish mercenary battalions came under severe artillery fire, soon followed by volleys from the advancing Imperial tercios. Exposed in the open, the Protestant regiments suffered terrible casualties and began losing cohesion.


Gustavus Adolphus Takes Action

Realizing the precarious state of his right flank, King Gustavus Adolphus decided to order an advance of his Swedish infantry to stabilize the situation. The disciplined Swedish musketeers slowly moved into firing range, preparing to pressure on the Imperial right flank.


Imperial Assault on the Dutch and Scottish Regiments

Sensing the weariness of the Swedish right flank, the Imperial forces launched a full-scale assault on the battered Dutch and Scottish regiments. Despite their determination, the Protestant mercenaries suffered horrendous losses but held their ground at great cost, momentarily halting the advance, but on the brink of collapse.


Swedish Cavalry’s Bold River Crossing

In a desperate attempt to turn the tide, Gustavus Adolphus ordered his elite Swedish cavalry to ford the river and strike the Imperial right flank. The Imperial cuirassiers were caught off guard, and one squadron was routed at significant cost. However, the fighting along the river remained inconclusive, and the Swedish forces could not fully exploit their success due to the disarrangement they come after the perilious crossing.


Collapse of the Swedish Right Flank

Under relentless pressure, the Swedish right flank finally began to crumble, with two regiments breaking and fleeing. The Imperial forces pushed forward, threatening to roll up the entire Swedish line.


Tott’s Decisive Rear Attack

Meanwhile, Åke Tott regrouped his cavalry in the Imperial rear, having defeated the Imperial dragoons. He then launched a decisive charge into the rear of a struggling Imperial tercio, which was already wavering under fire from the elite Swedish Yellow Regiment.


Battlefield Stalemate

As the sun set, the battlefield was in a state of deadlock. The Swedish right flank was shattered, incapable of further combat. However, a significant gap had been opened in the Imperial center, with Messeburg in Swedish hands, effectively splitting the Imperial army in two. On the left flank, the battle between the opposing cavalry forces remained inconclusive, although reserves were still available to the Catholics. Although numerically disadvantaged and suffering heavier losses, the Swedish forces and their Protestant allies maintained control of the field and withdrew in good order, denying the Imperials a clear victory. The battle ended in a costly stalemate, with both sides bloodied and exhausted.


Final Comment

We played this game at Model Expo 2025 Convention in Verona with Liber Militum Tercios, 2000 points per side, 2 vs 2 players, in a 240 x 180 cm table! The game played smoothly over 5 hours. The Imperial ended with 2 points of advantage, which were not enough to declare a clear victory. Overall, we enjoyed the experience and many people stopped to ask and take pictures!

sabato 11 gennaio 2025

The First Battle of the Year – The Ottomans arrive!

 Hello fellow wargamers! The first battle of the year marked the debut of my "new-old" Ottoman army. The miniatures are primarily from Old Glory 25s, originally purchased back in 2018 for Lion Rampant. They represent a slightly earlier period (late 15th to early 16th century), but I think they work well enough for the mid-17th-century setting of Liber Militum: Tercios. Sure, they may be a touch antiquated for the era, but the effect on the table was nice nonetheless.

1635, January – Austro-Hungarian Border

Under the frostbitten skies of a bitter January, Gri Bozkurt Pasha—“The Grey Wolf,” an ambitious Ottoman commander, set out to make his mark. Recently promoted and eager to prove himself, the Pasha led his army across the borderlands into the territories of the Holy Roman Empire. With limited time and resources, his force lacked its usual complement of cavalry. Instead, he relied on the professional discipline of his Janissaries, generously assigned to him by the Grand Vizier, and a modest cavalry contingent.

The Imperial response was swift. The local commander, pressed for time and men, assembled a smaller but experienced force to intercept the invaders. The two armies met on a cold plain where Ottoman artillery and Imperial tercios squared off across open ground. On the Ottoman right, the cavalry prepared for their pivotal role in the battle.

The opening moves unfolded on the Ottoman right, where the cavalry began their engagement. After an initial exchange of volleys, the Sipahi [medium to heavy cavalry, the backbone of Ottoman mounted warfare, known for their discipline and shock potential] charged the Imperial mounted arquebusiers. Though the arquebusiers attempted to evade repeatedly, they were eventually forced into a pitched fight. Meanwhile, the Akinci [light, swift raiders, adept at skirmishing and harassment] harassed the Imperial cuirassiers, tying them up for the entire battle. Though the Akinci suffered losses, their efforts ensured that these elite Austrian units never threatened the main Ottoman forces.

In the center, the infantry lines closed with grim determination. Artillery fire from both sides disrupted formations, but neither side faltered. The Janissaries and Imperial tercios engaged in a brutal war of attrition. While the Ottoman leadership lacked decisiveness, the discipline of the Janissaries kept them holding the line against repeated Christian assaults. The skirmishing azap units added to the pressure, exploiting their numbers to outmaneuver and harass the slower tercios.

As twilight descended, the weight of Ottoman arquebus and bow fire proved too much for the beleaguered tercios. Disordered and depleted, they began a fighting retreat, ceding the field to the Ottoman invaders.

The battle concluded with a decisive victory for Gri Bozkurt Pasha. Though his army bore the scars of the encounter, the Imperials were left shattered, and the path was clear for the Pasha’s forces to plunder the surrounding lands.


Conclusions

Overall the game was fun, the Ottomans were an exotic army with different tactical challenges compared to traditional European forces. Their line infantry is less effective individually, but their lower cost allows for numerical superiority, which can provide a strategical advantage due to the turn structure of Liber Militum: Tercios. Obviously new unit are going to be recruited (i.e. bought) soon.


Campaign

This was the first battle of our yearly campaign, which will connect all our games of Tercios and The Pikeman’s Lament into a shared narrative.  The exact rules are yet to be decided, but at the moment we will take note that a small Imperial force has been depleted by a Turkish incursion and we will let you know how this will reflect in the overall score of the campaing (probably this will be a separated southern front with its own score).

giovedì 8 luglio 2021

Dusting off Tercios! Ruleset

 After a couple years (and a pandemic) we were able to place our Thirty Years War armies on the gaming table. It was a simple face to face 1000 points scenario aimed to re-learn the rules.

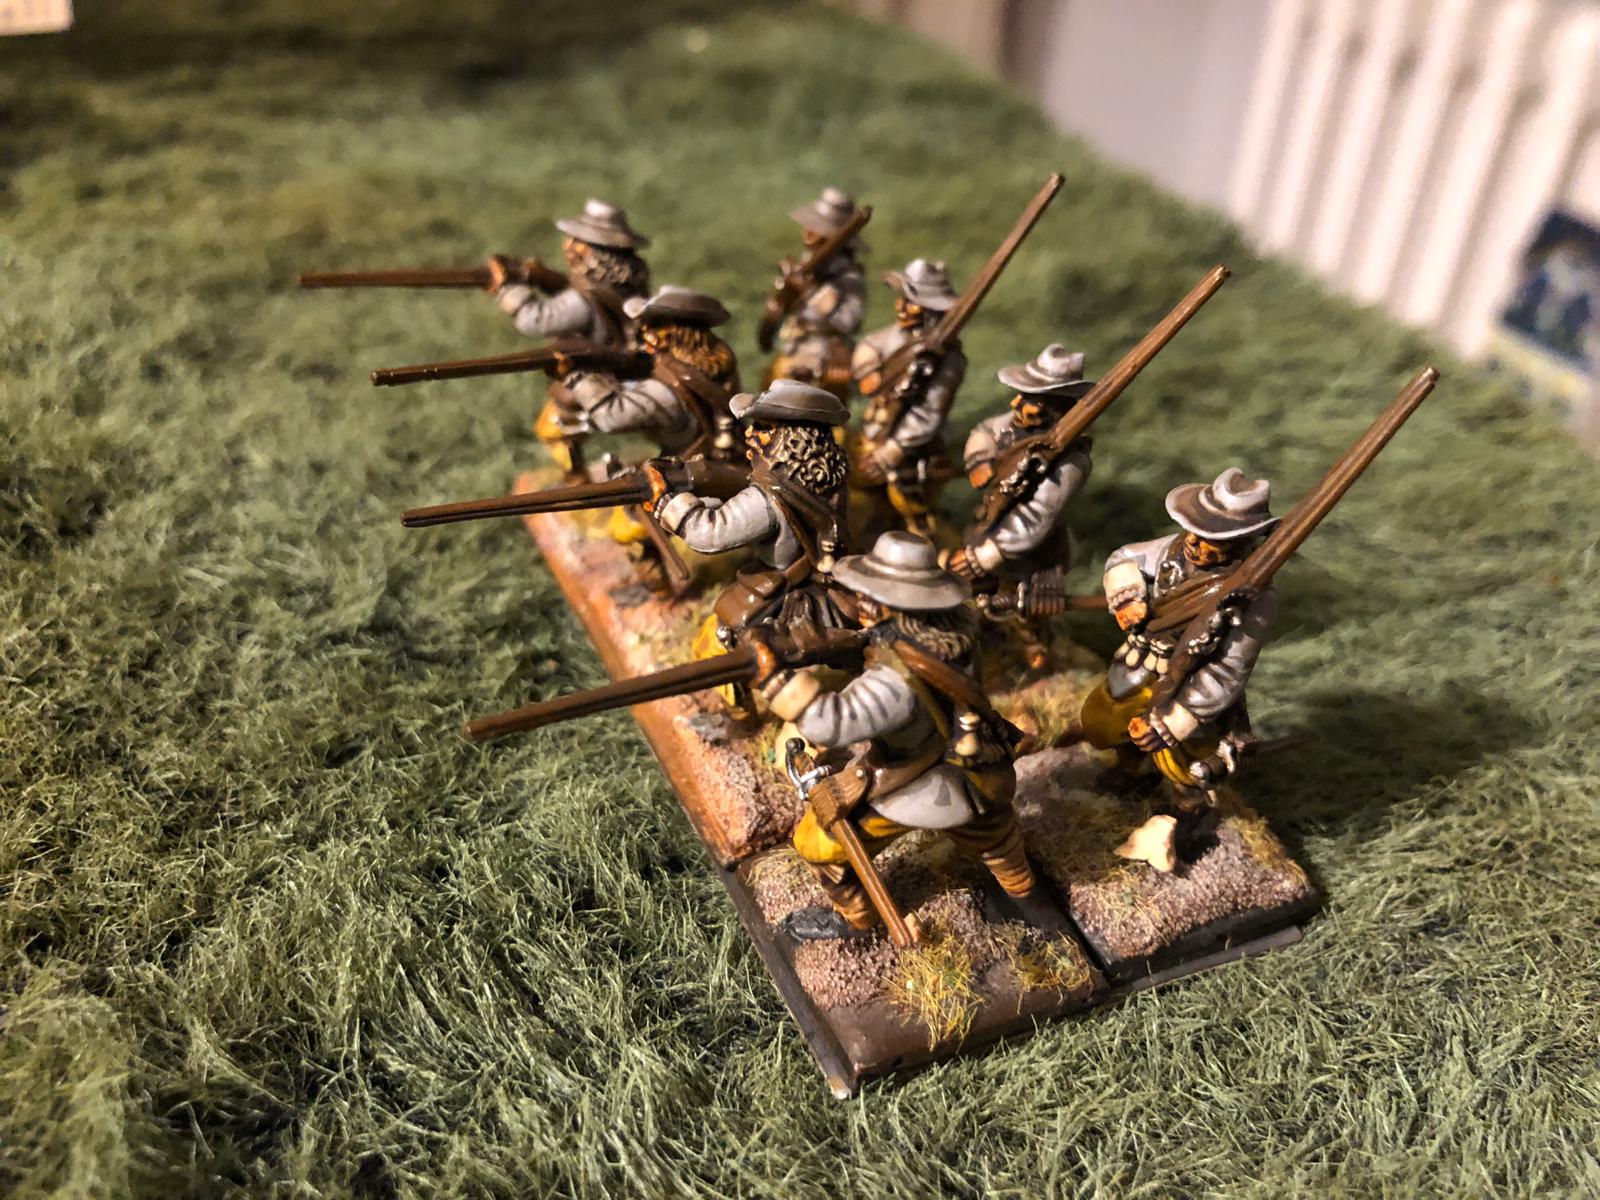
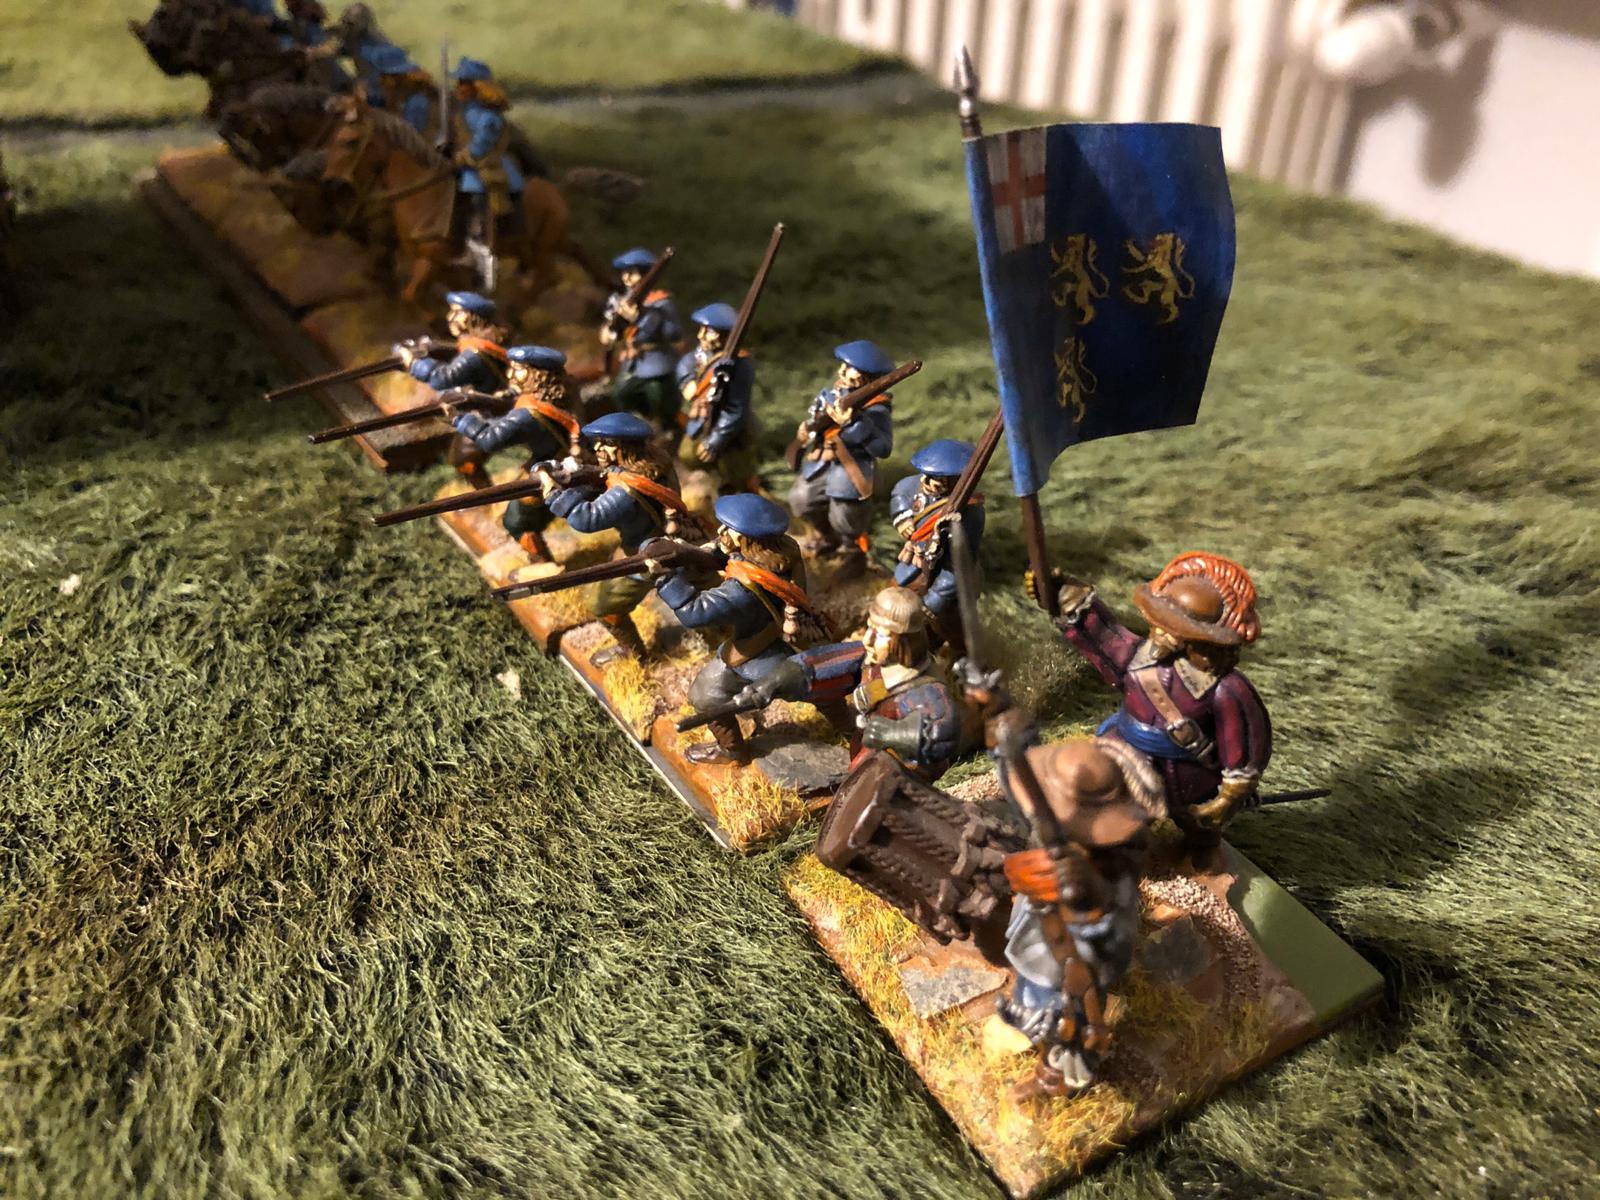
The armies in the pictures are the majestically painted Luca's Catholic Imperial Army and my Swedish (I bought them painted except artillery and one general). I totally forgot to use my generals' virtues and traits and a couple mistakes were made. However, we enjoyed the ruleset which provides a challenging yet easy way to represent TYW battles. The final result was a Swedish army refusing to collapse against odds and let the Swedish gain a small edge against the tired Imperial troops. A special mention goes to the Scottish infantry on the Swedish right flank, which survived two break tests in a row with four "six" rolled, making the Imperial leader leave the field undefeated but unsettled.


sabato 27 giugno 2020

Contrast paint - first impressions


I bought a couple of Games Workshop Contrast Paint (Contrast from now on) one year ago, on the wave of enthusiasm. They have been sitting in a corner of my painting desk until this spring.  I was stuck with little to no willing of painting, so I decided to give them a try. I'm still painting.
I purchased about 3/4 of the line and these are my observation about them so far.


My Contrast collection so far. I should probably buy a rack for display

Contrast are not (of course) colors in the traditional term, since they are meant to paint both base and shades with one passage, so they are rather are highly pigmented inks or shade. Remember: they are very liquid. Colors vary a lot in pigment density and quality, for example Militarium Green is a bit light in pigment and need at least two coats to be efficient, otherwise it could result in speckled figures. Black Templar is also not very pigmented and can result in "not so black" color. Iyanden Yellow is, so far, my favorite color, even if tend to dissociate yellow and orange pigments so it need to be lay with a bit of attention and remember to shake the pot before painting.


Painting with Contrast only seems easy: painting with contrast at basic level is very accessible, but I think that achieving a high quality model requires a good hand skill, maybe at the same level than traditional painting: you can direct the flow of this liquid color, and the effect varies with the brush size, quantity of color absorbed in it, the pressure, the way you lay the color them, how many layer of paints you lay. So lot of different results, actually. Basilicanum Grey is paradigmatic: can vary a lot with the quantity of liquid placed on the miniature.

Cloak on left model, mail and sword on right one, are both painted with Basilicanum Grey.
Hard to believe, I know.

The primer is very important: I found myself at ease with Wraithbone spray but you really have to experiment: the final result can vary a lot. Only remind that a smooth basecoat is essential for let Contrast flow, the risk is the color could evidence the granularity of the primer.

Base Wraithbone is essential. It is the same primer but you can lay it with a brush: you will need it to cover the smears. Important! With small exceptions they're not able to cover other colors smear, and I suggest painting the figures from lighter to darker colors for this reason. 

Attention on metals! I tried using Contrast to shade Vallejo real metal colors and I found both Wildwood and Skeleton Horde tend to give them a brass effect. I decided for now to use non metal color (i.e. Basilicanum Grey, see picture above).


Not the best picture, but the gun was painted with Vallejo Silvermetal and then washed with Skeleton Horde. The result are brassy shadows. Other colors are Contrast.


Which miniatures are (in my opinion) best painted with contrast paint?  Well they work greats on simple, plain clothes and fur (both in clothes and on animals, including horses). I would avoid armies with a lot of tiny details (as Napoleonics), if you want to go full Contrast. Otherwise, you could use contrast paint for basic uniform and then revert to traditional painting for details. Also bear in mind that the colors selection is (compared with other brands) quite small: you will probably have issues finding the right shade of blue for that particular regiment in that particular campaign. But...you can always mix them and create new colors, I found no particular issues with that, just remember avoid mixing with water. 

In conclusion: the miniatures are not gonna painting themselves, but choosing the right subject they allow to spare an enormous amount of time and going right into playing with an army nicely painted (using it unpainted was never an option). I am very happy with them and I must thank them for getting back to painting.


domenica 14 giugno 2020

Swedish Thirty Years War Army


The Swedish army was the most notable one during Thirty years war (TYW): well trained, well led, achieved many successes on the battlefield and still sparks inspiration between wargamers.

I found a fabulous offer on the net for a beautifully painted  Swedish army and couldn't hold myself from buying it! A lot of infantry and cavalry ready to be led by Gustavus Adolphus! Its only drawback was the artillery: only one leather gun. I remedied painting a heavy gun: a great chance to test also GW new contrast paint (but I'll talk about them in another post). I plan to use them with Tercios for great battles and Pikeman's Lament for smaller clashes.


Here is a gallery of the miniatures, kindly host by Paolo's display closet, and a first playtest of Pikeman's Lament (more in another post).